This is a quick start to set up an Anviz device that is currently connecting with CrossChex Standard to Anviz One Cloud. Firstly, we should do the data migration from CrossChex Standard to Anviz One Cloud.
Data migration includes employee data: Name, Photo, department, Template, and Time Attendance Records in the last two months.
Anviz One Cloud now supports the following Anviz models:
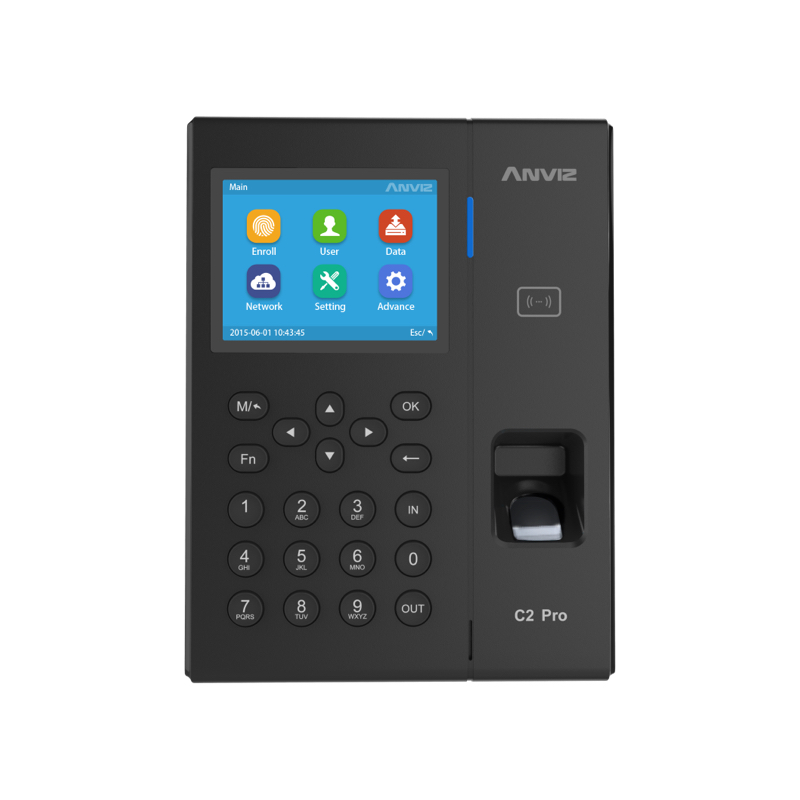
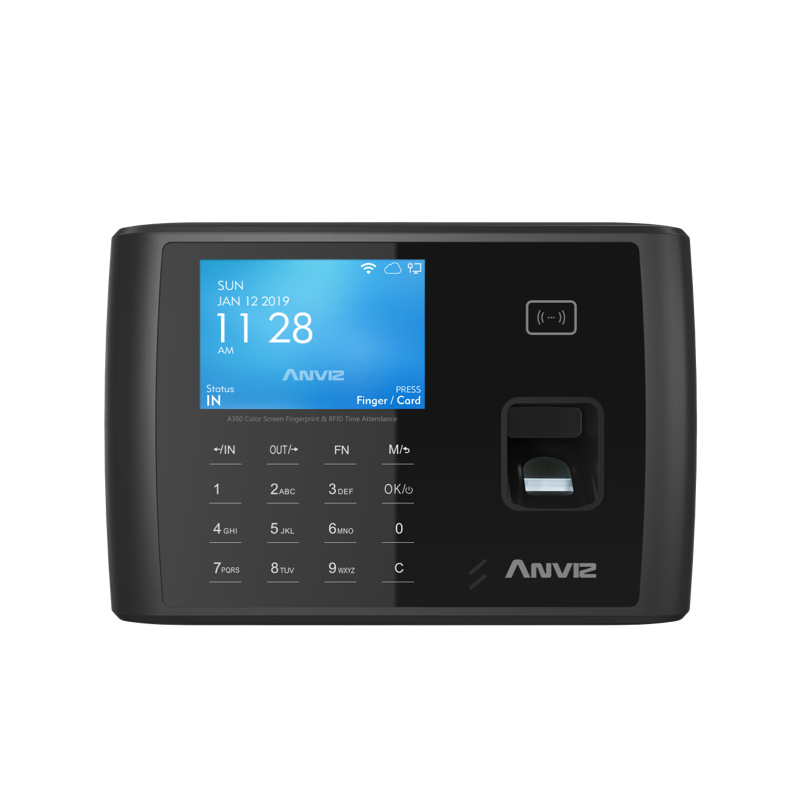
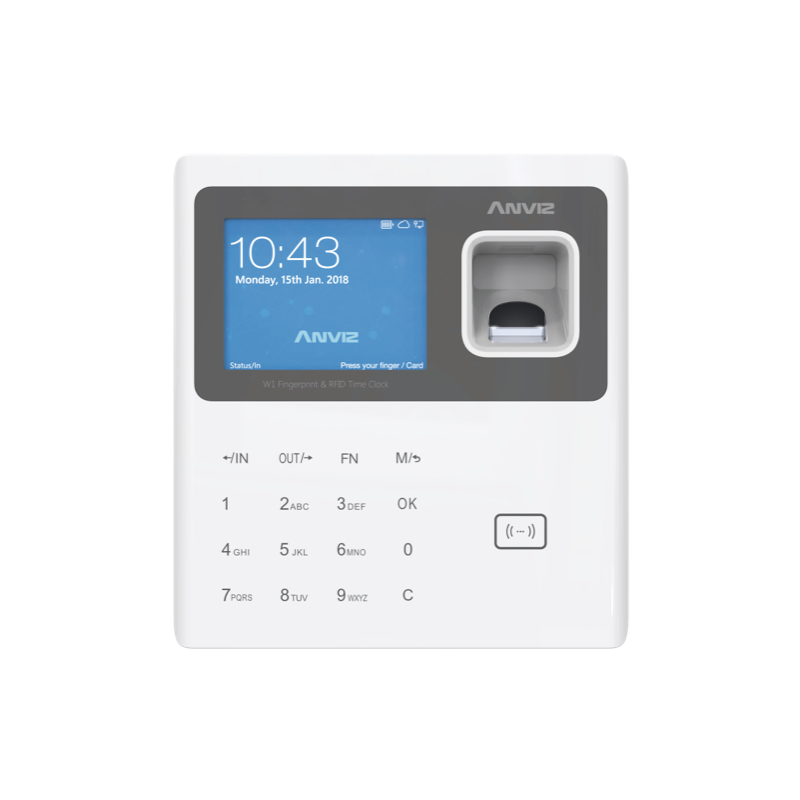
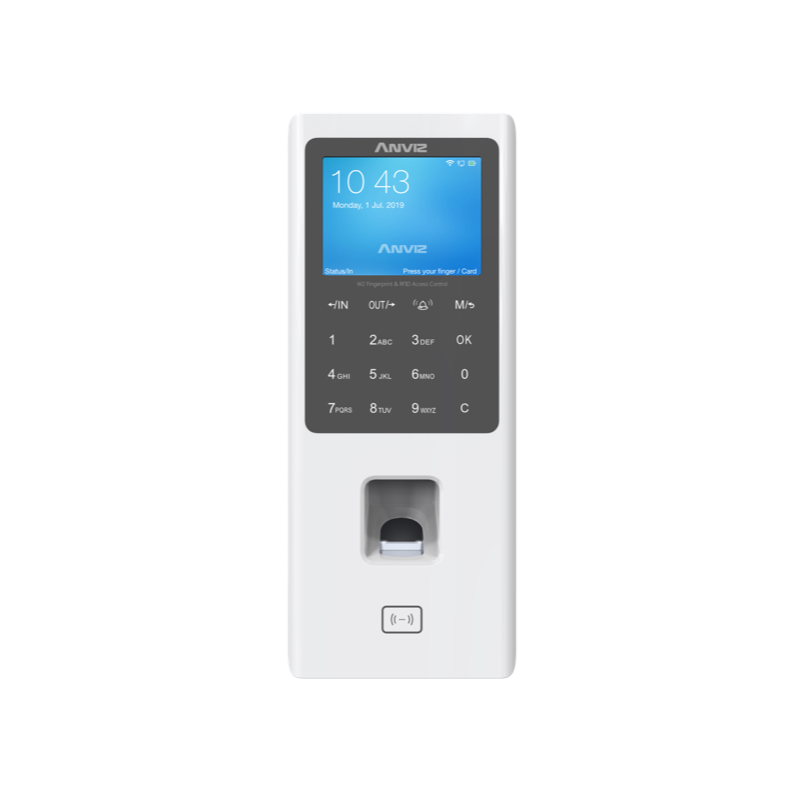
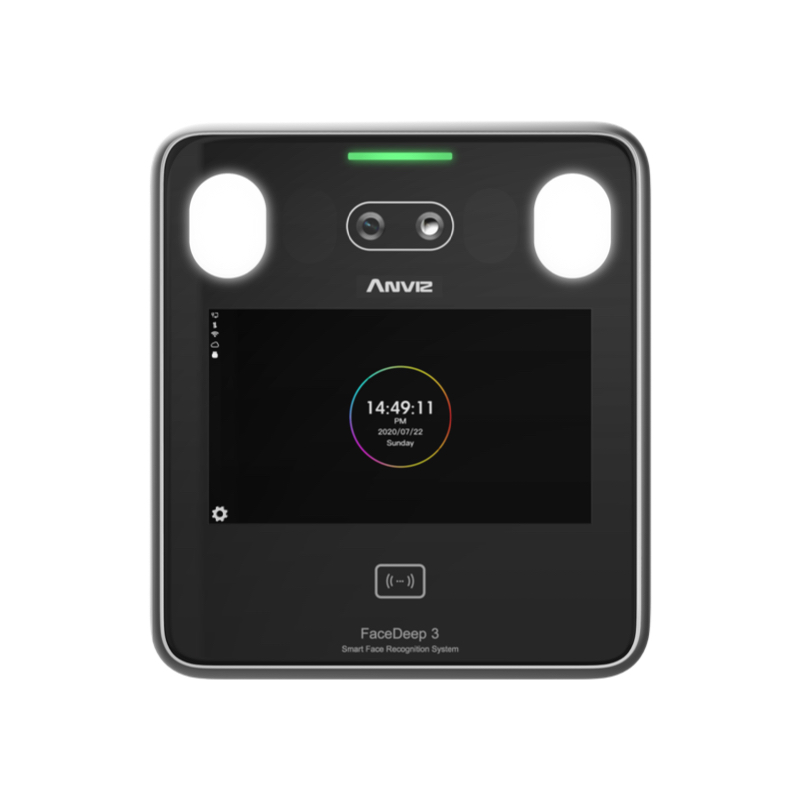
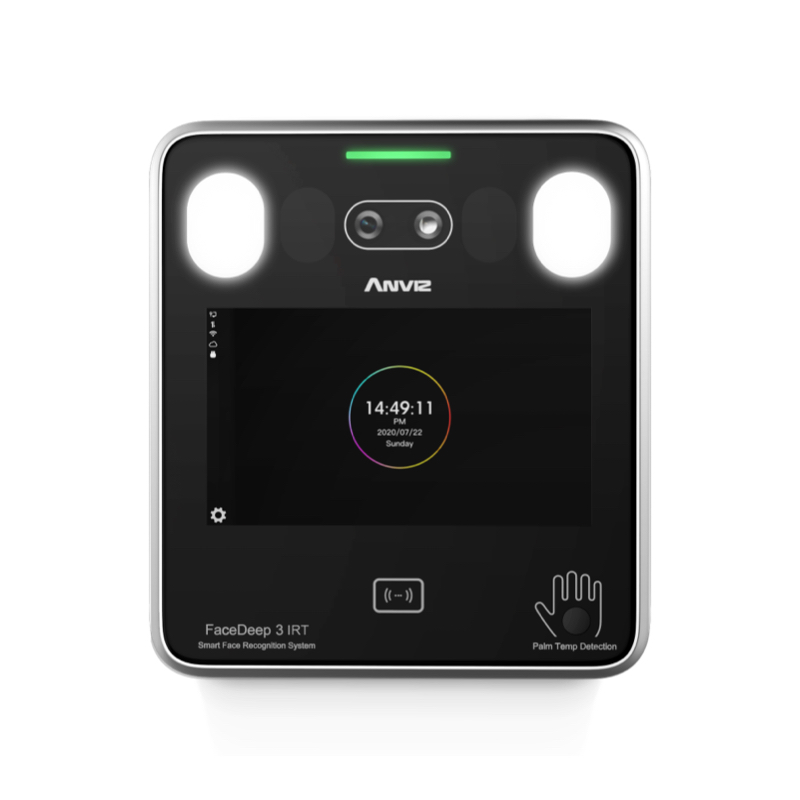
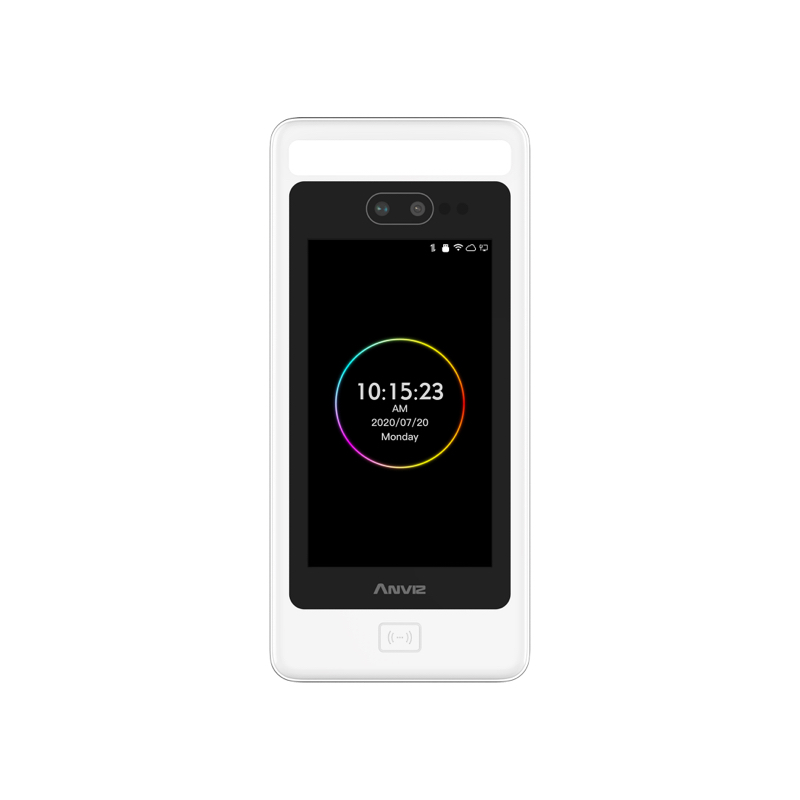
C2 Pro, A350, A350C, W Series (W1, W1 Pro, W1C Pro, W2, W2 Pro), VF30 Pro, EP300 Pro, EP30, FaceDeep 3 Series (FaceDeep 3, FaceDeep 3 IRT), FaceDeep 5 Series (FaceDeep 5, FaceDeep 5 IRT)
Step 1:
 |
 |
 |
 |
 |
 |
 |
| C2 Pro | A350 | A350C | W1 Pro | W2 Pro | VF30 Pro | EP300 Pro |
 |
 |
 |
 |
 |
 |
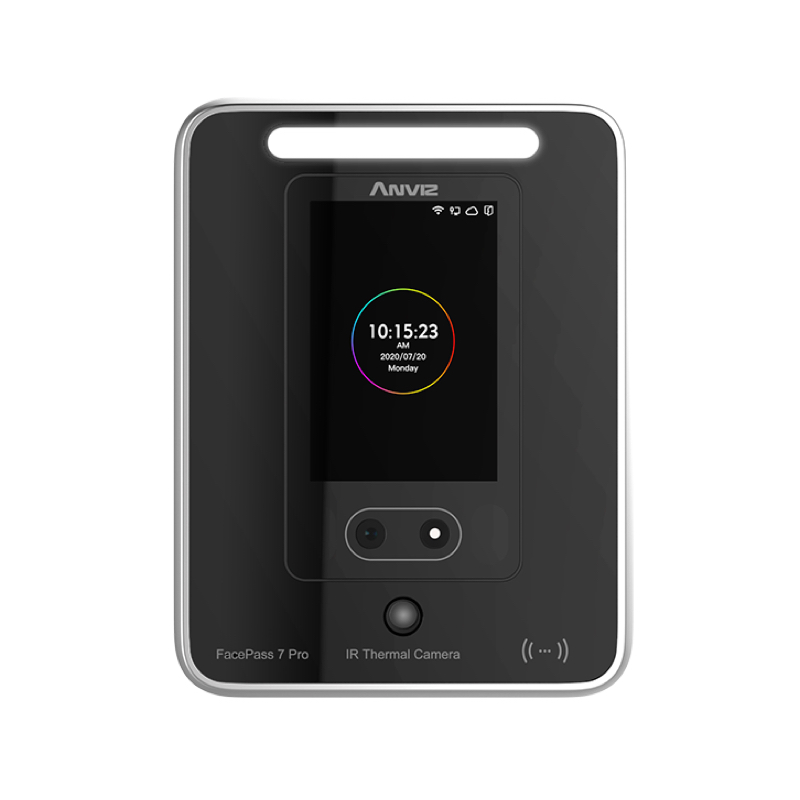 |
| EP30 | FaceDeep 3 | FaceDeep 3 IRT | FaceDeep 5 | FaceDeep 5 IRT | FacePass 7 Pro | FacePass 7 Pro IRT |
Please check that your current device is one of the above applicable models. If not, you can Find a Reseller.
Step 2:
Create a Account for a new Anviz One Cloud account, Sign in by the following links if you are a registered user.
Anviz One Cloud current has 3 servers:
us.crosschexcloud.com (Worldwide and US)
eu.crosschexcloud.com (European)
ap.crosschexcloud.com (Asia Pacific)
Step 3:
Download the data migration tool. Download Here
Step 4:
Upgrade your Crosschex Standard to the latest version (4.3.17 at least) from Menu-Help-Upgrade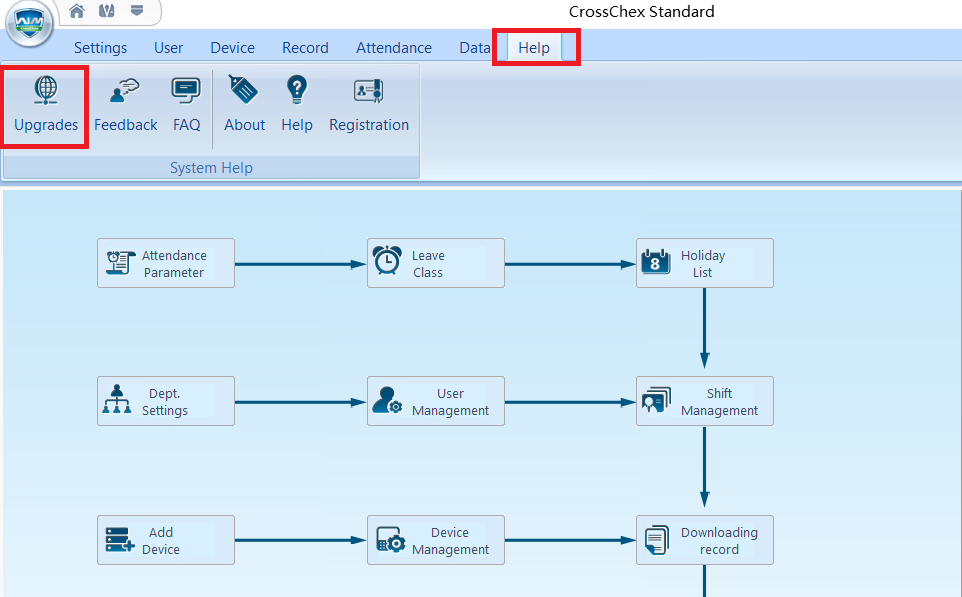
Confirm the firmware version:
Let’s start the migration!
Step 1:
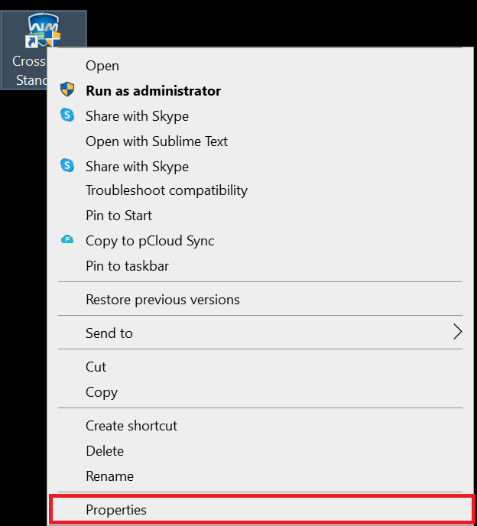
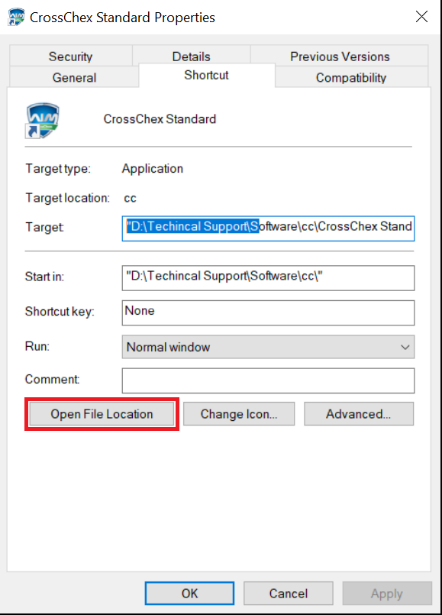
Find the “CrossChex Standard” shortcut icon on your desktop, right-click it, select “Properties” and then “Open File Location” and go to the CrossChex Standard installation path.
 |
 |
Step 2:
Copy the data migration tool to the CrossChex Standard path and unzip it. Run “CloudMove.exe” by double-clicking.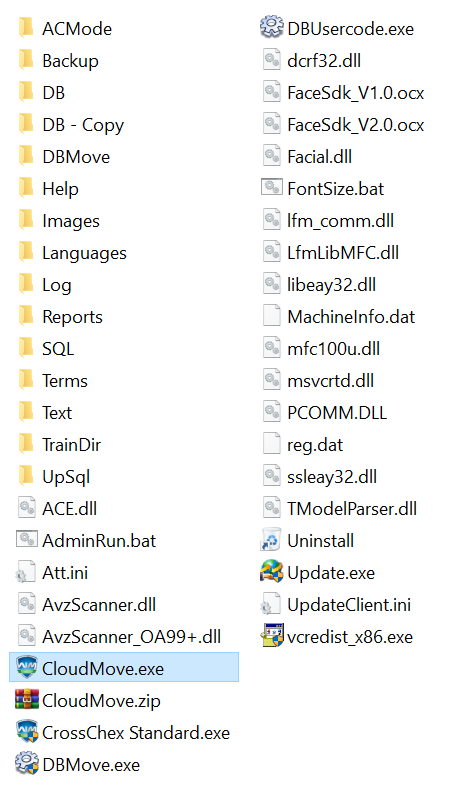
Step 3:
Fill out the popup box after double-clicking “CloudMove.exe”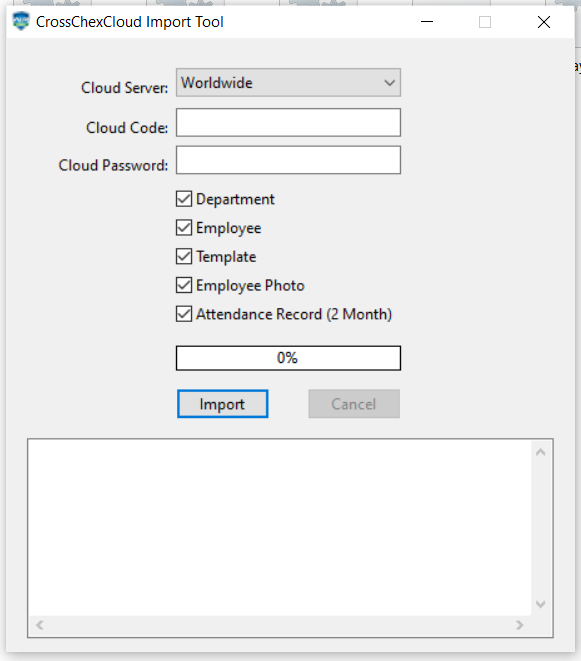
“Cloud Server”: If you are visiting us.crosschexcloud.com server, please choose “US” and “Worldwide”; if you are visiting ap.crosschexcloud.com server, please choose “AP”.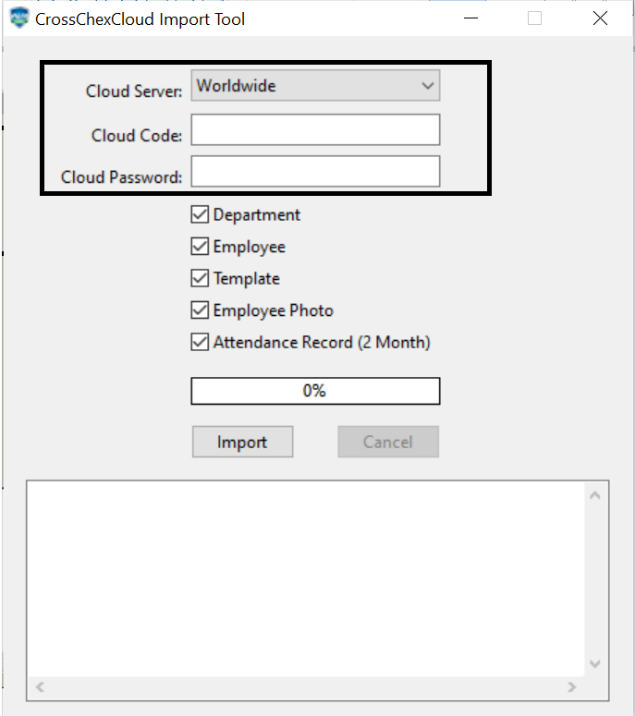
Check the “Company ID” and “Password” from the Anviz One Cloud “Settings” menu.
Step 4:
Before clicking “Import”, please make sure the “Cloud Server”, “Company ID”, and “Password” contents are correct. And wait for the progress bar to finish its process. (It will take around 1 hour for 100 employees with 20K records for reference.)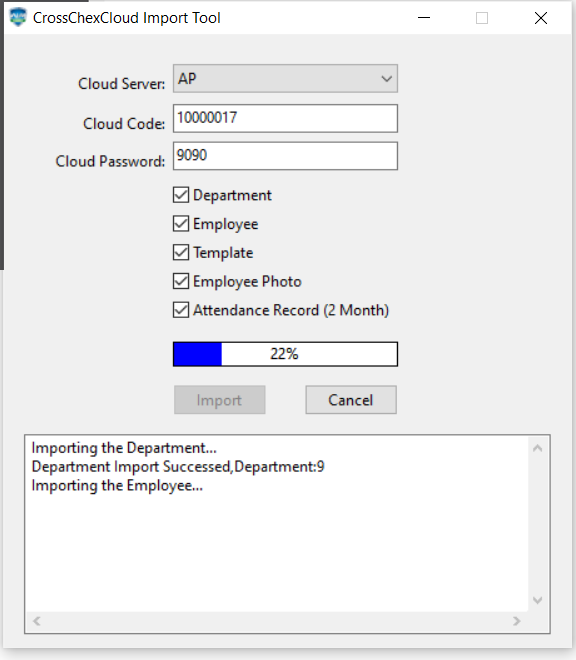
Step 5:
Sign in to your Anviz One Cloud, and you will see all the data there.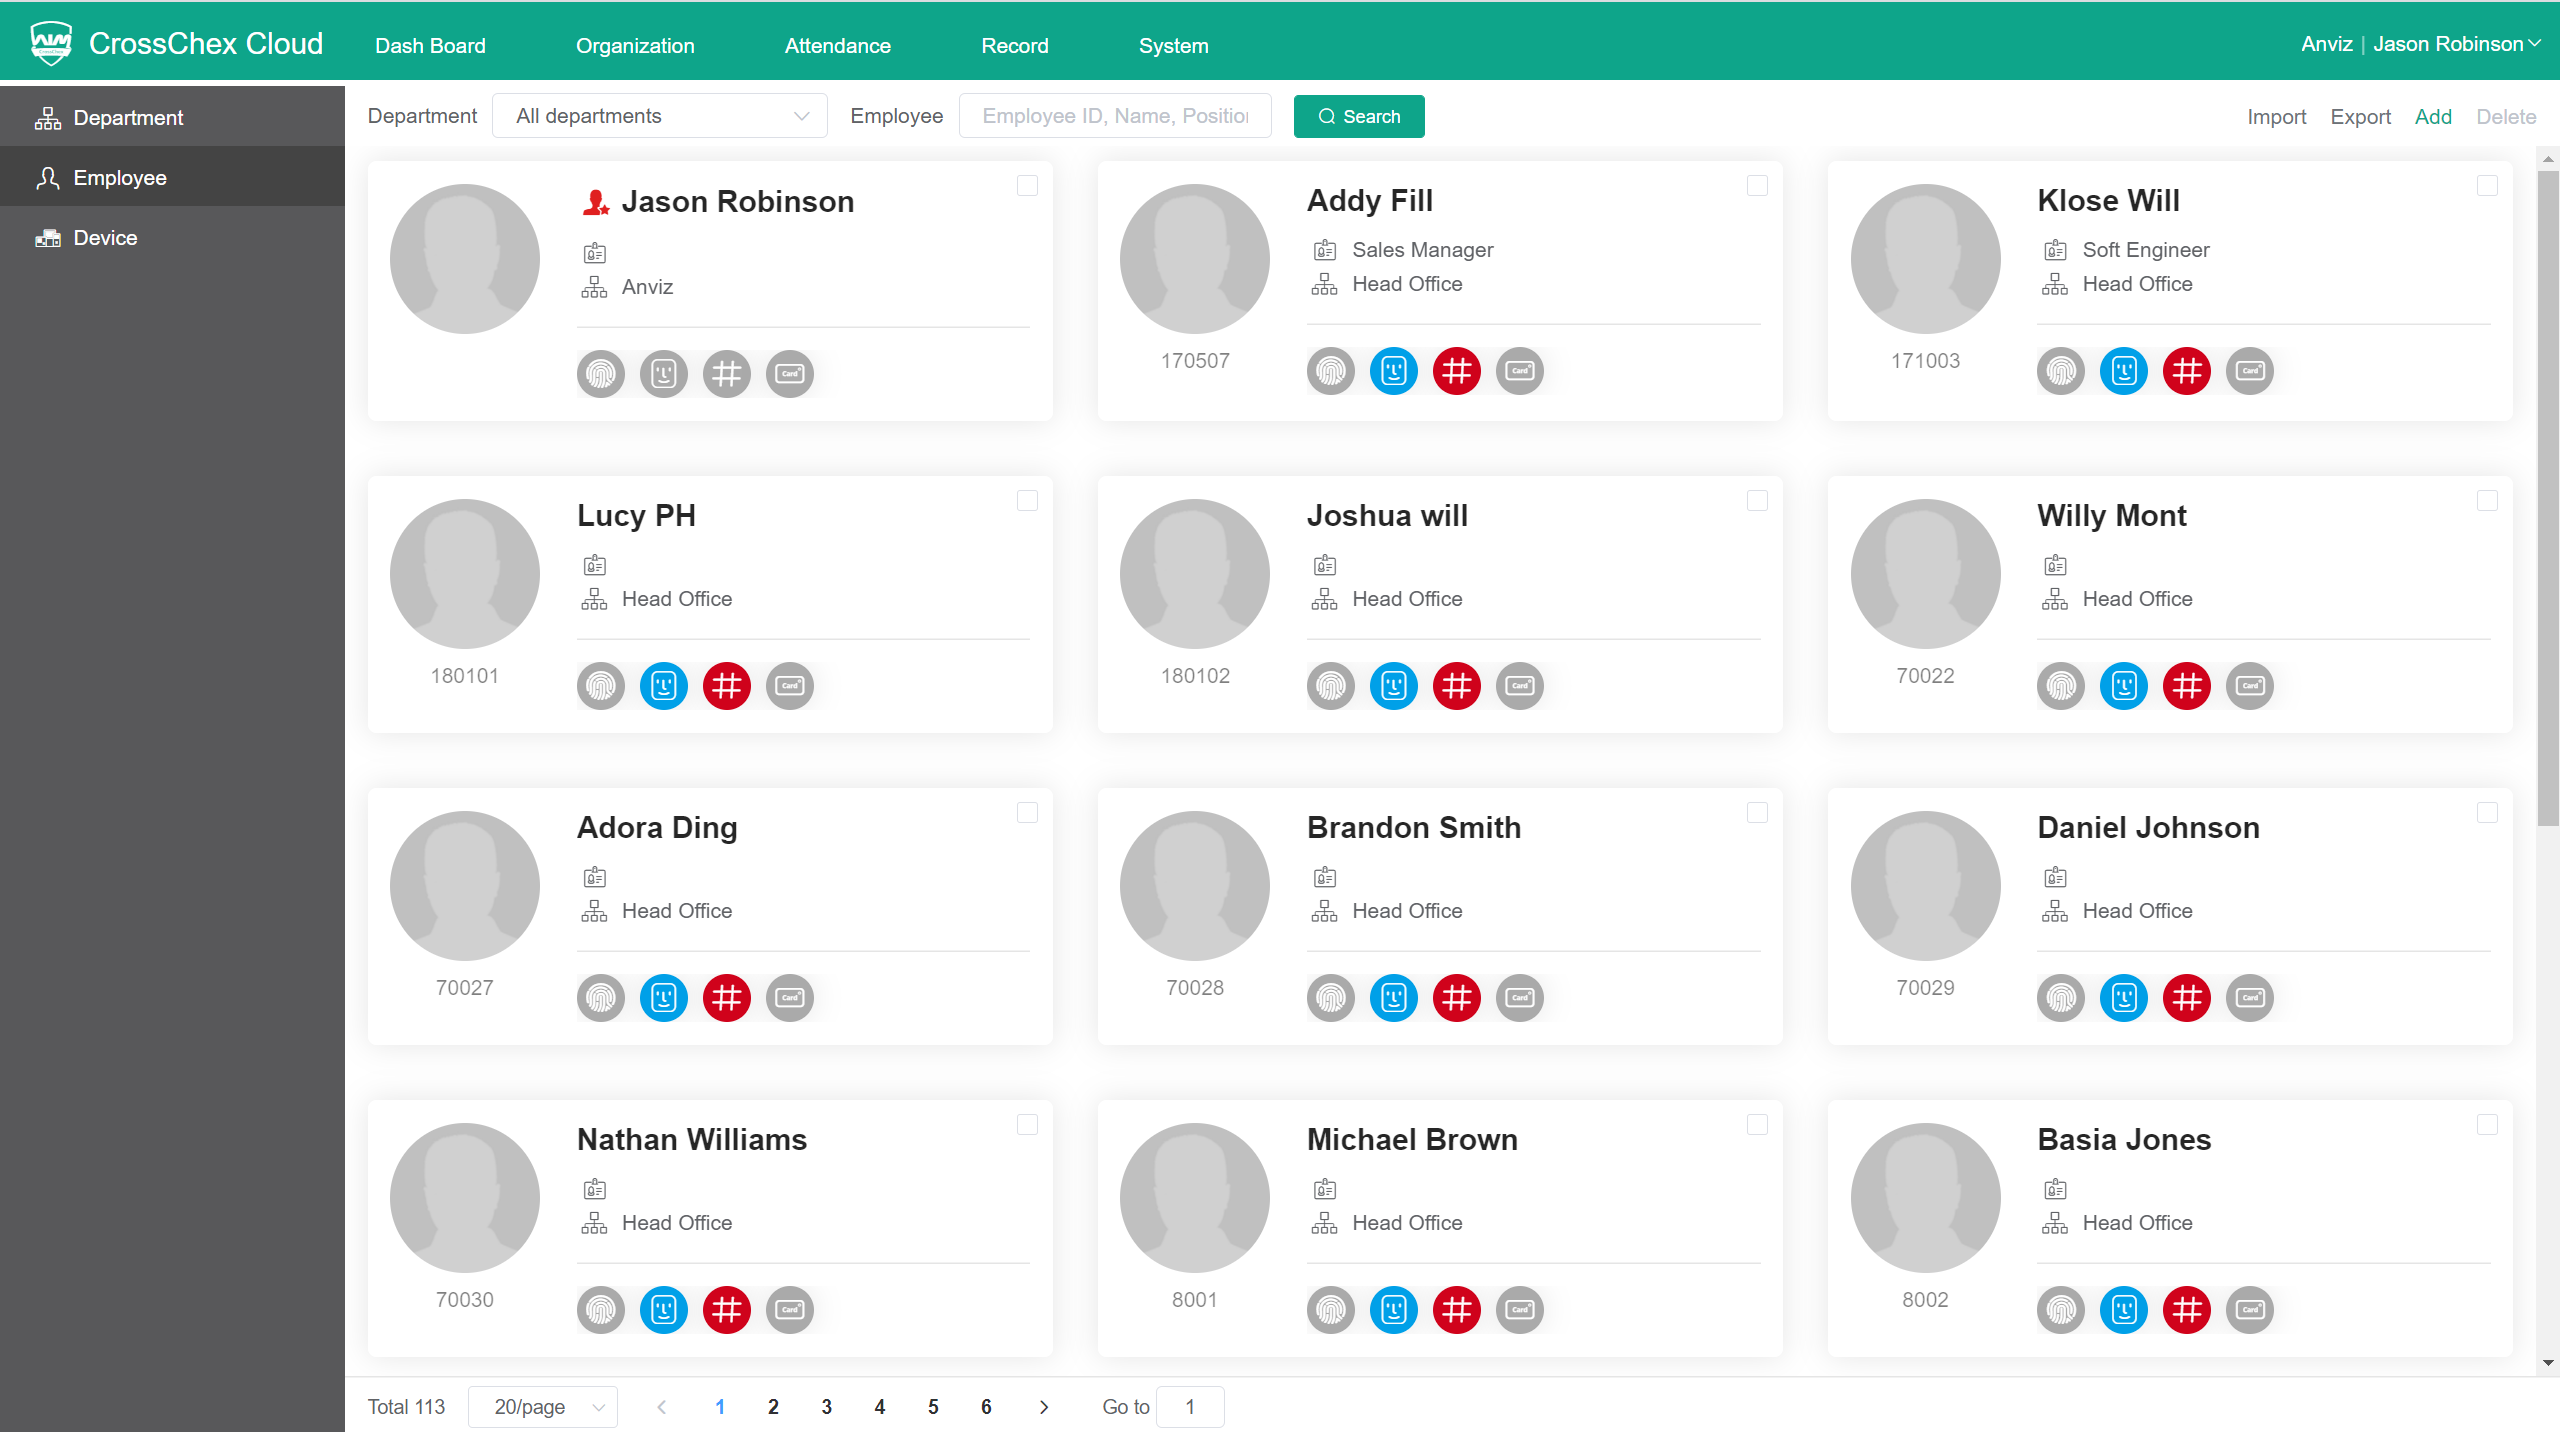
Step 6:
Done. Please check if you have all the data transferred.
Comments
0 comments
Please sign in to leave a comment.